Beautiful Butterfly

Nothing says summer like a beautiful butterfly…that and swimming, popsicles, baseball, fireworks, cool nights on the patio…and our Vacation Bible School. My local church has the most awesome VBS ever! The entire church is transformed into another land – this year it’s a rainforest with a huge tree (10 feet around!) in the sanctuary. There are monkeys swinging from the rafters in the entry hall and lots of giant lizards everywhere.
I wanted to make dozens of butterflies and dragonflies to float among the monkeys and frogs all over my VBS craft room. But I didn’t have enough Smoothfoam on hand (note to self: get more Smoothfoam and start planning earlier next year!) so I just made this one beautiful metallic butterfly to hang in my studio. He’s so pretty and bright and when I turn on the fan, he flits around to keep me company and make me smile!
Supplies
12″ Smoothfoam sheet
Smoothfoam balls – three 1″, two 2″ and one 3″
Metallic paints – green blue, gold, purple
18″ length of stiff wire (a clothes hanger works well)
Heavy duty craft glue
Straight pins
Purple fine glitter
Tulip dimensional pearl finish paints – green, white and gold
Foam Cutter
Craft Knife
Round-nose pliers
2# test fishing line
Paintbrush, sponge
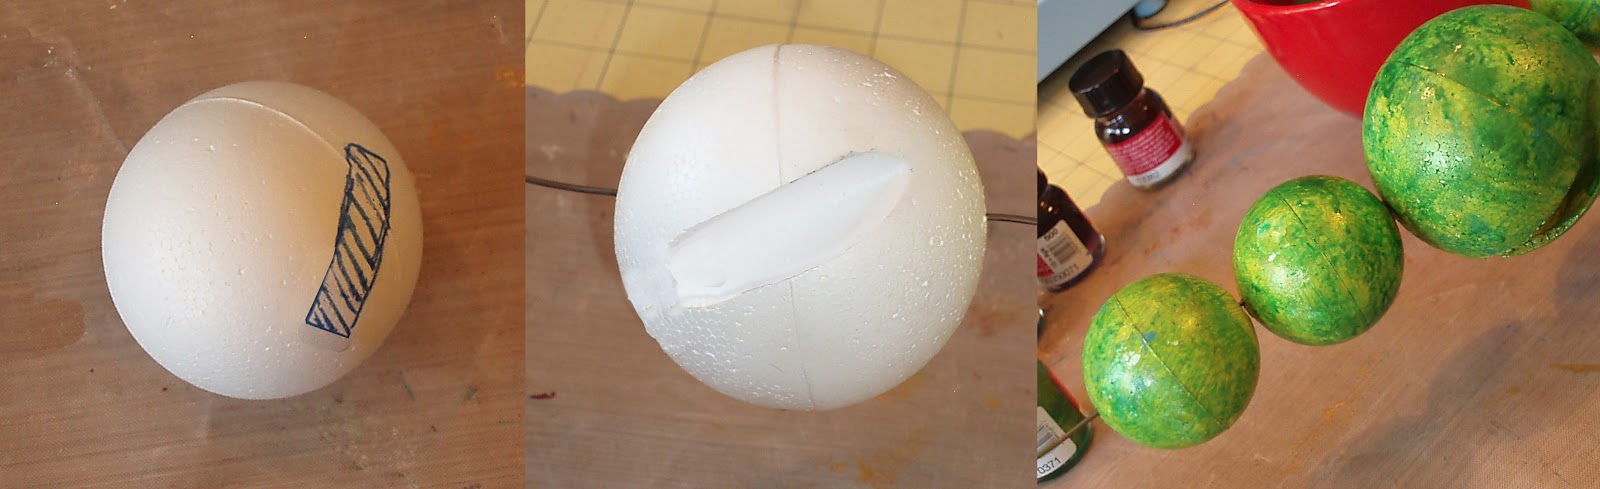 |
| Cut two slits on opposite sides of 3" ball. Sponge blue and green paint on all balls. |
1. Cut two slits (1-1/2″ long by 1/2″ wide) on opposite sides of the 3″ ball, with the sides of the slit angled inward. This is where the wings will attach to the body.
3. Draw two wing shapes on the Smoothfoam sheet and cut out with foam cutter. Paint all sides blue and allow to dry. Use dimensional paint to draw outlines of shapes and dots as desired.
4. Add a generous amount of glue into each slit of the largest ball and press in a wing to each side; insert straight pins to secure. Support the wings in place as the glue dries by propping them on a couple of soup cans.
5. Push all the balls toward one end of the wire, leaving about 3″ of wire exposed at the top. Cut off all but about an inch of wire on bottom of body and curl it with pliers to keep the balls from sliding off (save the excess wire trim). Paint two blue dots for eyes on the top ball.
6. Glue and glitter the surface of the two remaining 1″ balls. Add one to the exposed wire at the top of the body. Insert a 3″ piece of wire into the other ball and poke it beside the first one to make the antennae.
7. Make two long loops of fishing line and place one around the base of each wing to hang. Tie the loops together about 18 ” above the butterfly’s body.


Comments